If you want to gift your KitchenAid mixer to someone who lives across the state, how do you make sure that it is packed well to survive the shipping process? That's what we will talk about today. We asked the experts for the best way to ship your mixer and here's what they shared with us.
To ship a KitchenAid mixer, you need to:
- Wrap the removable components separately and put them inside the mixing bowl.
- Place the mixing bowl in the mixer.
- Cover the mixer with bubble wrap.
- Put it inside the shipping box.
- Put fillers in the empty spaces inside the box.
- Seal the box tightly.
- Fill out the shipping details.
- Schedule the pickup or drop off your package at your trusted delivery service.
Keep on reading for a more detailed explanation of the procedure and get more tips on how to pack your KitchenAid mixer properly. We'll also tell you how long a KitchenAid mixer is expected to last, how you can take care of it, and what you can do with your old mixer. Let's get this started!
How to pack a KitchenAid Mixer
Maybe you need to ship your KitchenAid mixer to the service provider, you're selling your old mixer to upgrade to a new one, or you want to send it as a gift to someone special. Whatever your reason, this valuable kitchen appliance needs some extra care to get to its destination safely.
Without much further ado, here are the steps to properly pack your KitchenAid mixer.
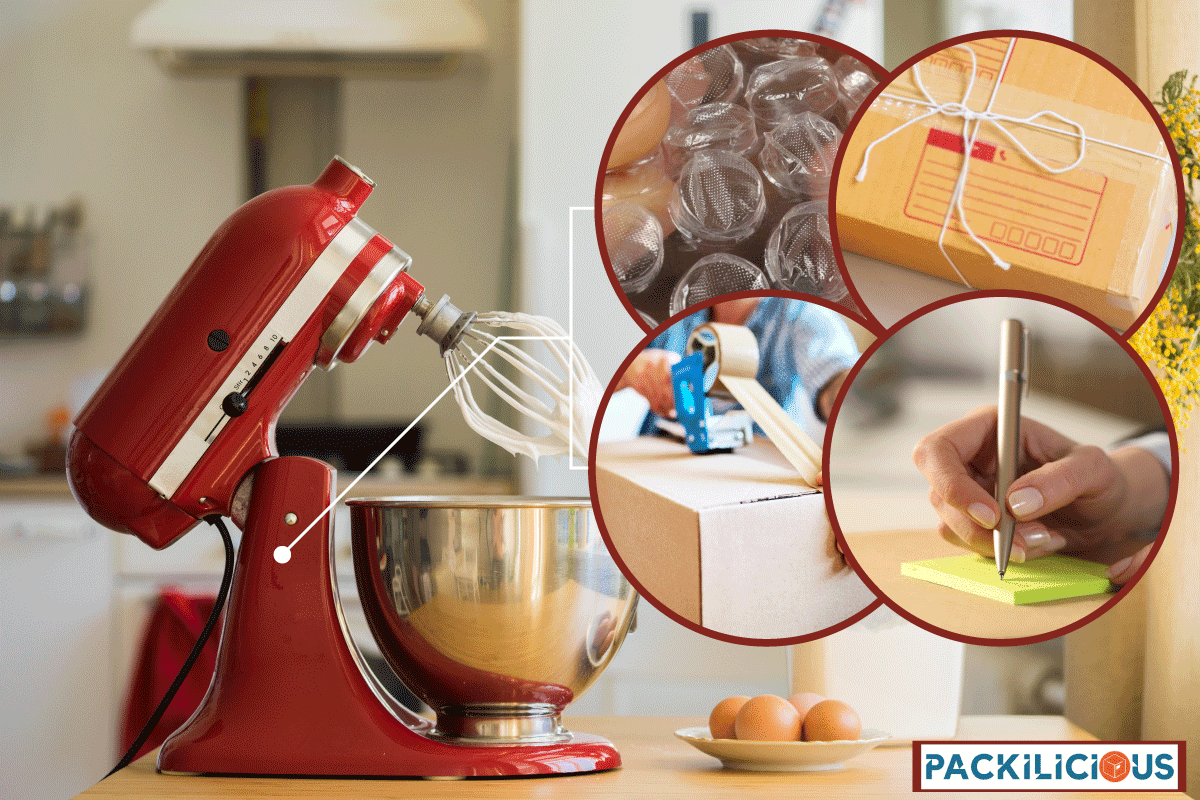
Materials to prepare
- packing paper
- bubble wrap
- packing tape
- scissors
- shipping box
- newspaper or packing peanuts

![]()
Check out these bubble wraps on Amazon.
Procedure
- Assemble your shipping box. Take note of the size of your KitchenAid mixer and choose just a slightly bigger box than this.
- Tape at the bottom of the box to seal it. You can put multiple layers at the seam and put some tape across to make sure that it is secure. The mixer can be quite heavy after all.
- Take apart the removable components of your stand mixer - the cord, attachments, and mixing bowl.
- Wrap each of the components separately with packing paper. This will help prevent scratches.
- Put the cord and attachments inside the mixing bowl.
- Place the mixing bowl in its proper place in the mixer.
- Cover your KitchenAid mixer all the way with bubble wrap.
- Use your packing tape to close all the edges so that the bubble wrap will stay in place.
- Carefully put the mixer inside the shipping box.
- Fill all the empty spaces with wads of newspaper. You can also use packing peanuts if you have them. Make sure the box is full from the sides and even on top to cushion and keep your mixer from moving while in transit.
- Gently shake it to feel if the mixer will move inside. If it does, put more fillers.
- Close the box and seal it with packing tape in the same way that you taped the seam and width of the bottom portion of the box.
- Fill out the shipping details.
- Book a pick-up or drop off your package at the nearest branch of your trusted courier service.
That's it! You can now be confident that your KitchenAid mixer will get to your intended recipient whole and safe.
You can also refer to this video for reference.
How long does a KitchenAid mixer last?
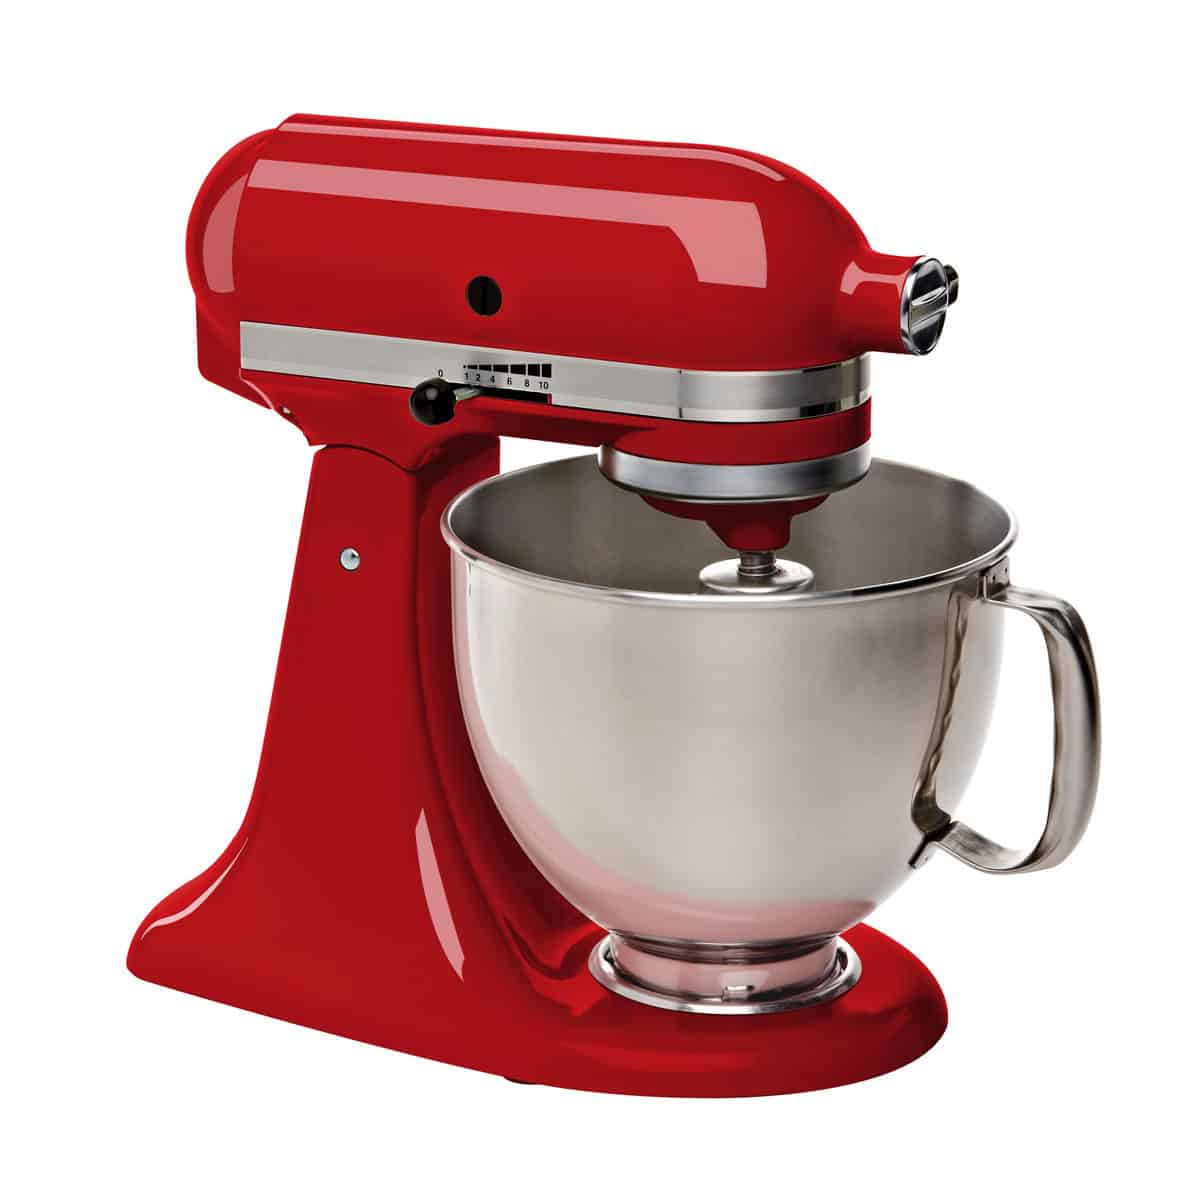
The KitchenAid mixer is a great help for home cooks and bakers. Aside from helping them whip up the perfect batter for their cakes and cookies, it also comes with different attachments that allow them to come up with different food creations that their families will surely love.
You can make your bread and pasta from scratch, shred chicken, grind raw meat, slice your favorite veggies, serve refreshing fruit juices, and top everything with delicious ice cream for dessert all by using your KitchenAid mixer.


Click this link to find this KitchenAid mixer on Amazon.
But with its rigorous performance, especially when you use it all the time, it will eventually break down or you'll see a decline in its performance. It'll then be no longer practical to use this kitchen appliance.
It's the universe's way of telling you that you need to get a new stand mixer and preferably one that comes with improved performance to meet your current cooking needs.
KitchenAid is manufactured by the trusted global brand Whirlpool. Manufacturers say that the life expectancy of these mixers is around 15 years. But with proper use and maintenance, some say that your KitchenAid mixer can last up to 30 years!
That's why it's always worth it to invest in this kind of appliance. They make your life in the kitchen so much more convenient and you get so much from them. They are made of high-quality materials and offer the versatility of functions which is why you get more value for your money.
Proper Cleaning and Care for your Mixer

Speaking of the right use and maintenance of your KitchenAid mixer, here are some tips on how to clean it so that it'll stay in great condition all the time.
This is actually pretty straightforward.
- After every use, make sure you unplug your mixer first for your safety.
- Remove the mixing bowl and the attachments used.
- The mixing bowl is dishwasher-safe so you can just put it inside your dishwasher together with the other kitchenware that you have for washing.
- As for the attachments, you can soak them in warm soapy water to make it easier for you to clean them.
- Wipe the mixer's stand with a damp cloth or paper towel. You can also soak the cloth first in soapy water, and squeeze out the excess before rubbing the mixer's surface with it to remove stubborn food residue.
- If you want to do a thorough cleaning, some also suggest making a paste by mixing baking soda with water and applying it to the mixer's surface and its components. Rinse it off after an hour or so.
- Use a soft and clean microfiber towel to dry your mixer and its attachments. You can also hang the attachments on your kitchen hooks to air dry.
Make sure you do this after every use to prevent the buildup of dirt and other unwanted particles in your electric appliance. This will help ensure its smooth operation for years to come.
As part of its maintenance, it is also recommended to put food-grade grease in your KitchenAid mixer's motor regularly to lubricate its moving parts. It should be food-grade so that it's non-toxic and safe for human consumption if it gets mixed with the food that you're preparing.


Click this link to find this food grease for kitchen mixers on Amazon.
What do I do with my old KitchenAid mixer?
Don't just throw away your old KitchenAid mixer. For one, you can trade it in at KitchenAid so you can receive store credits that you can use to buy your new mixer! That's how you do shopping for a cause.
Or you can also repurpose it. We've seen different creative ways to turn this into a lamp or home decor. You can paint its parts so that they'll complement your room.
Lastly, you can check appliance recycling solutions in your area for the proper and environmentally friendly way of disposing of your old kitchen appliances. The government has recycling partners who can help you with that.
Final Thoughts
Shipping your KitchenAid mixer is easy. Just make sure that it is well-protected by bubble wrap and fillers inside the box to prevent damage while in transit. With the right packing materials and your trusted courier, you'll never go wrong.
For more packing how-tos, feel free to visit the following sites: